Virtual hand gesture mouse using a webcam

Overview

NonMouse

GitHub GitHub release (latest by date) zenn

日本語のREADMEはこちら

This is an application that allows you to use your hand itself as a mouse.
The program uses a web camera to recognize your hand and control the mouse cursor.

The video is available on Youtube

スクリーンショット 2021-09-13 午後5 33 21

スクリーンショット 2021-09-13 午後5 33 21

Feature

  • Entirely new mouse: a mouse with a software approach. It recognizes your hand and works as a mouse.
  • NonMouse can be invoked by the global hotkey even when this application is inactive.
  • Works well with typing
  • You can make it look like a touch display, by pointing the web camera at the display.
  • You can use the mouse wherever you want.
  • Just download from the latest release (windows, mac only)

Installation

📁 Run as executable file

Download the zip file that matches your environment from the latest release.

OR

🐍 Run as python

Run the following script.

$ git clone https://github.com/takeyamayuki/NonMouse
$ cd NonMouse
$ pip install -r requirements.txt

If you have trouble installing mediapipe, please visit the official website.

† For mac, you need to add the location where you want to run it, such as Terminal or VScode, to the Security and Privacy Accessibility and Cammera section in System Preferences.

Usage

1. Install a camera

The following three ways of placing the device are assumed.

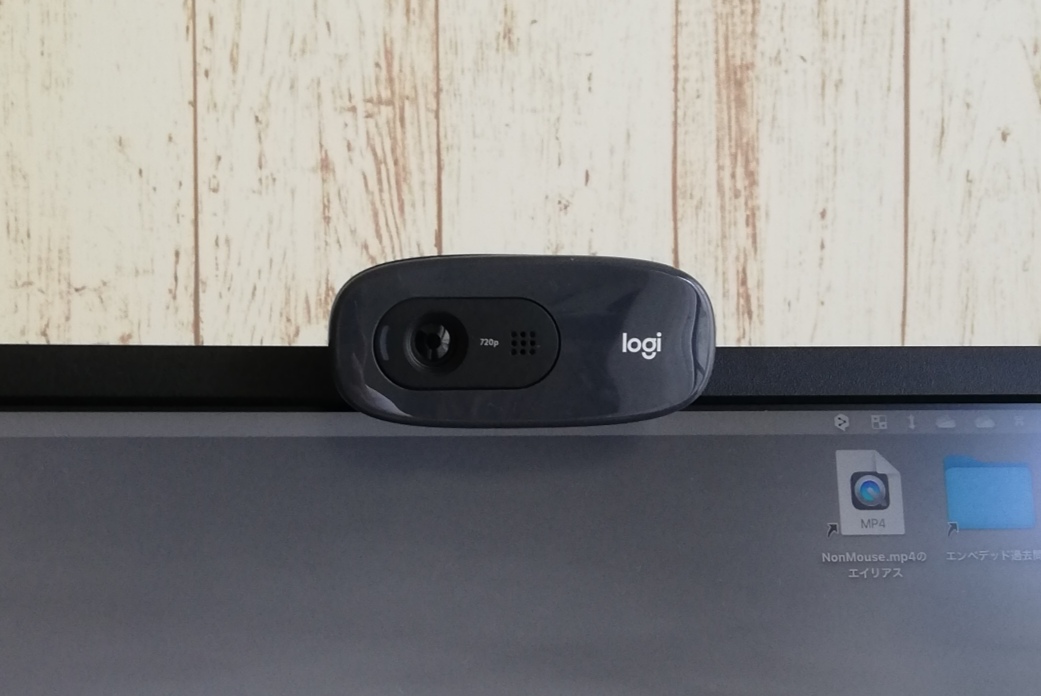
  • Normal: Place a webcam normally and point it at yourself (or use your laptop's built-in camera)

    Examples of installation methods Point the palm of your hand at the camera
    スクリーンショット 2021-09-13 午後5 33 21
    スクリーンショット 2021-09-13 午後5 33 21 スクリーンショット 2021-09-23 044041
  • Above: Place it above your hand and point it towards your hand.

    An example of installation methods Point the back of your hand at the camera.
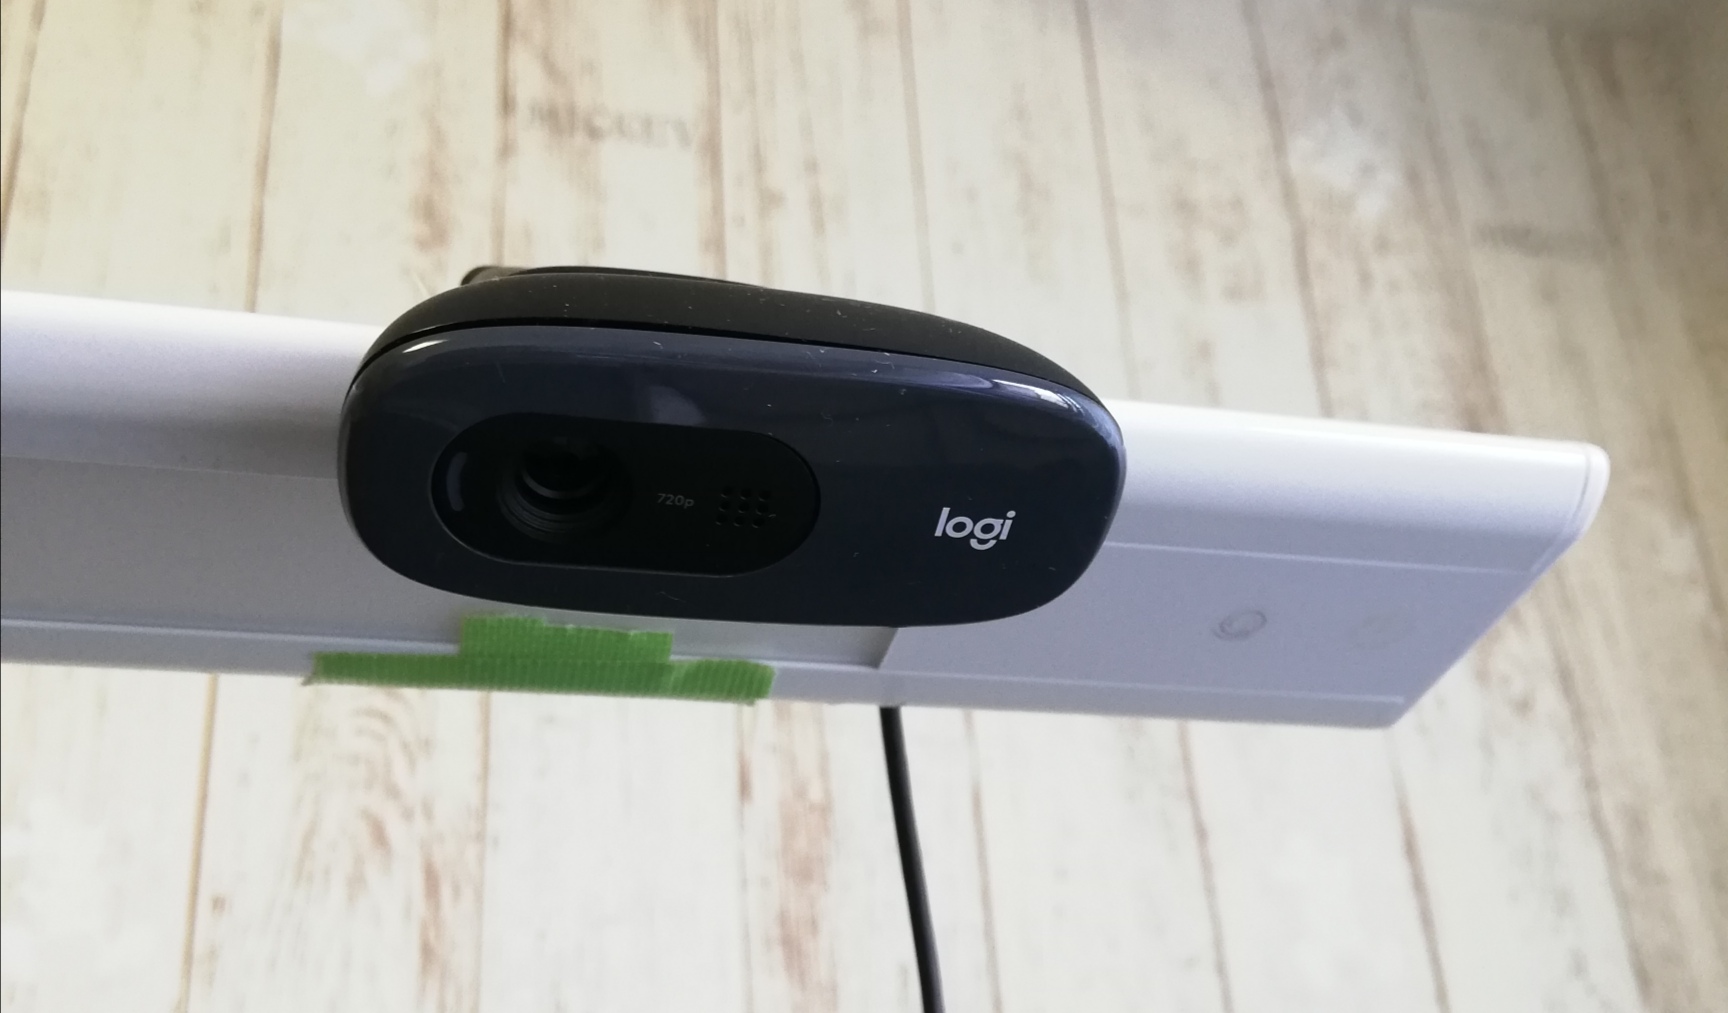
    スクリーンショット 2021-09-13 午後5 33 21 スクリーンショット 2021-09-23 044243
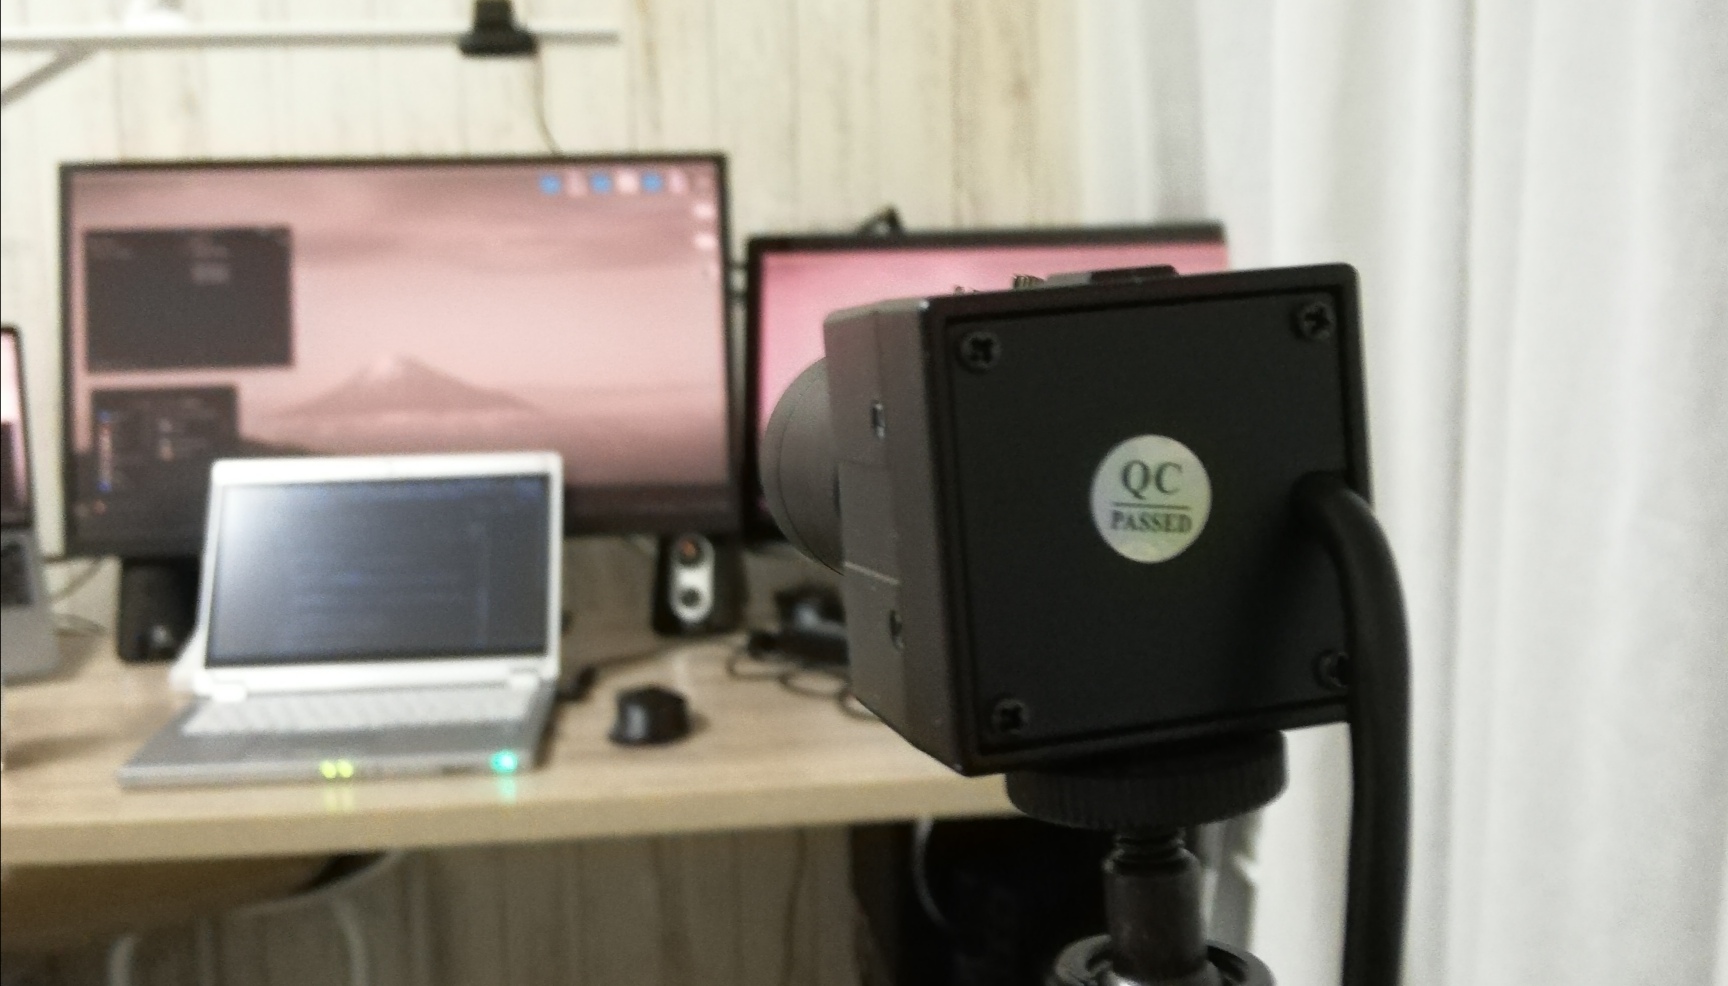
  • Behind: Place it behind you and point it at the display.

    An example of installation methods Point the back of your hand at the camera.
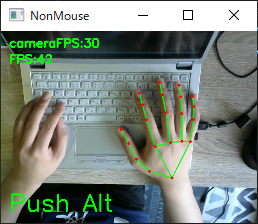
    スクリーンショット 2021-09-13 午後5 33 21 スクリーンショット 2021-09-23 044403

2. Run

  • Run the executable as described in the GitHub wiki.

    OR

  • Run the following script from the continuation of the installation.

    For windows, linux(global hotkey function does not work in linux.)

    $ python3 app.py

    For MacOS, you need execute permission.

    $ sudo python3 app.py

3. Settings

When you run the program, You will see a screen similar to the following. On this screen, you can set the camera and sensitivity.

スクリーンショット 2021-12-02 154251

  • Camera
    Select a camera device. If multiple cameras are connected, try them in order, starting with the smallest number.

  • How to place
    Select the location where you placed the camera. Place the camera in one of the following positions: Normal, Above, Behind in [ 📷 Install a Camera].

  • Sensitivity
    Set the sensitivity. If set too high, the mouse cursor will shake slightly.

When you are done with the settings, click continue. The camera image will then be displayed, and you can use NonMouse with the settings you selected.

4. Hand Movements

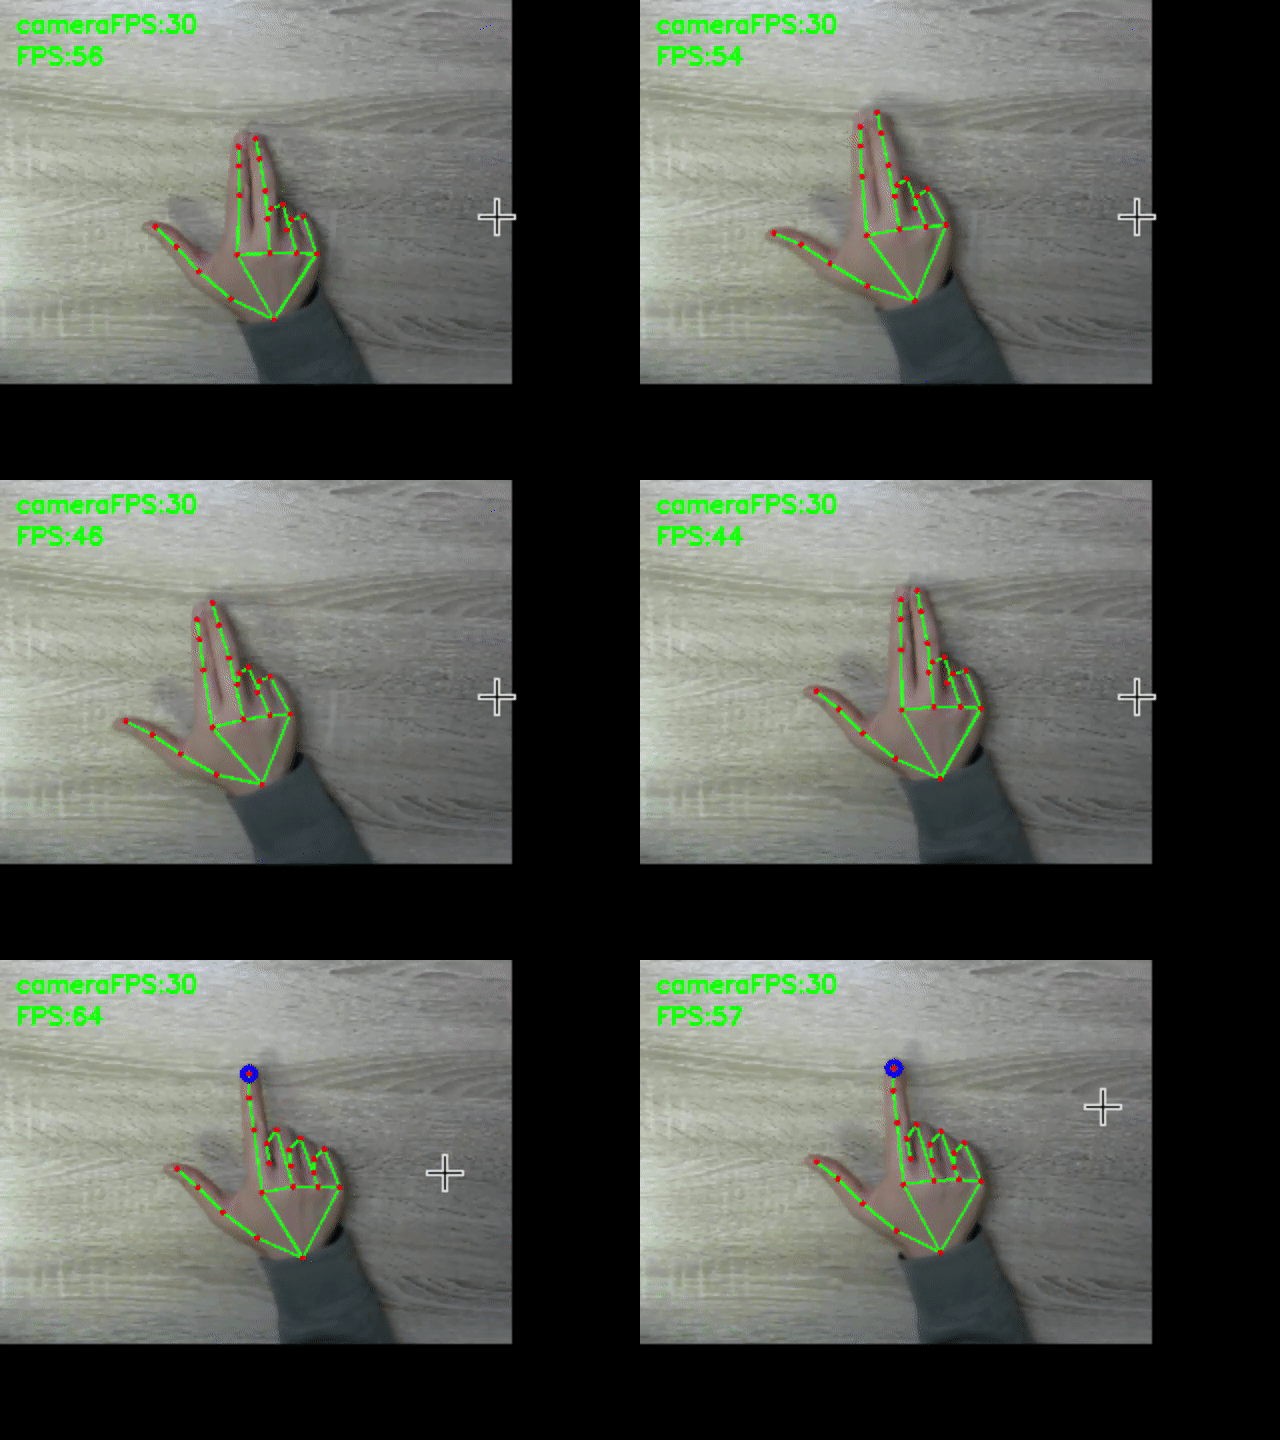
stop cursor left click right click scroll
aaa aaa aaa aaa

The following hand movements are enabled only when you hold down Alt(Windows), Command(MacOS). You can define your own global hotkeys by rewriting here. You can use this function even if the window is not active.This feature is only available on windows and mac.

  • cursor
    • Mouse cursor: tip of index finger → A blue circle will appear at the tip of your index finger.
    • Stop mouse cursor: Attach the tip of your index finger to the tip of your middle finger. → The blue circle disappears.
  • left click
    • Left click: Attach the fingertips of your thumb to the second joint of your index finger → A yellow circle will appear on the tip of your index finger.
    • Left click release: Release the thumb fingertip and the second joint of the index finger. → The yellow circle disappears.
    • Double click: Left click twice within 0.5 seconds.
  • other
    • Right click: Hold the click state for 1.5 second without moving the cursor. → A red circle will appear at the tip of your index finger.
    • Scroll: Scroll with the index finger with the index finger folded → a black circle will appear.

† Use it with a bright light at hand.
† Keep your hand as straight as possible to the camera.

5. Quit

Press Ctrl+C, when a terminal window is active.
Press close button(Valid only on windows, linux) or Esc key, when an application window is active.

Build

† The built binary files can be downloaded from latest realease.

In app-mac.spec and app-win.spec, change pathex to fit your environment.
Run the following scripts for each OS.

  • windows

    Copy and paste the location obtained by pip show mediapipe into datas, referring to what is written originally.
    Run the following script.

    $ pip show mediapipe
    ...
    Location: c:\users\namik\appdata\local\programs\python\python37\lib\site_packages
    ...
    #Copy and paste into the datas in app-win.spec
    $ pyinstaller app-win.spec
    ... ````
  • mac

    Create a venv environment and perform pip install, because the directory specified in datas is for an assumed venv environment.

    $ python3 -m venv venv
    $ . venv/bin/activate
    (venv)$ pip install -r requirements.txt
    (venv)$ pyinstaller app-mac.spec
Comments
  • error: PyObjC requires macOS to build

    error: PyObjC requires macOS to build

    Hello. When installing requirements on Linux I get this error:

    Collecting pyobjc-core==7.3
      Downloading pyobjc-core-7.3.tar.gz (684 kB)
         ━━━━━━━━━━━━━━━━━━━━━━━━━━━━━━━━━━━━━━━━ 684.2/684.2 KB 5.4 MB/s eta 0:00:00
      Preparing metadata (setup.py) ... error
      error: subprocess-exited-with-error
      
      × python setup.py egg_info did not run successfully.
      │ exit code: 1
      ╰─> [2 lines of output]
          running egg_info
          error: PyObjC requires macOS to build
          [end of output]
      
      note: This error originates from a subprocess, and is likely not a problem with pip.
    error: metadata-generation-failed
    
    × Encountered error while generating package metadata.
    ╰─> See above for output.
    
    opened by jbrepogmailcom 2
  • ZeroDivisionErrorでクラッシュする

    ZeroDivisionErrorでクラッシュする

    cfps = int(cap.get(cv2.CAP_PROP_FPS)) でcfpsが1になって if cfps < 30: cap.set(cv2.CAP_PROP_FRAME_WIDTH, cap_width) cap.set(cv2.CAP_PROP_FRAME_HEIGHT, cap_height) cfps = int(cap.get(cv2.CAP_PROP_FPS)) を通してもcfpsが1になり、 ran = int(cfps/10) でranが0になってしまい、ZeroDivisionErrorでクラッシュします。

    環境は以下の通りです PC: MacBook Pro 2020 Intel OS: macOS Monterey カメラ: Mac内蔵Webカメラ Pythonバージョン: 3.9.7

    opened by takpika 2
  • MacOS MontereyでカメラFPSが5Hz程度になる

    MacOS MontereyでカメラFPSが5Hz程度になる

    https://github.com/takeyamayuki/NonMouse/blob/1e7f7bc5e9f52a29196ae631b4cb7e83a910aa27/app.py#L117-L121

    cfps = int(cap.get(cv2.CAP_PROP_FPS))で取得するカメラのFPSが5Hzになってしまい、カーソルが小刻みに揺れてしまう。 これは恐らく、cv2の問題だと思われる。

    opened by takeyamayuki 0
  • How to set screen size?

    How to set screen size?

    Hello the mouse only works on left two thirds of the screen. I gues it has something to do with screen size, my lapto has 1920x1080. Can I reconfigure it somewhere?

    opened by jbrepogmailcom 1
  • カメラや手が傾くと、自分の指先移動量に対するマウス移動量が異なってしまう

    カメラや手が傾くと、自分の指先移動量に対するマウス移動量が異なってしまう

    たとえば、カメラを斜めに取り付けると、カメラに映る指は縦方向に圧縮されたものになり、当然移動量もその分小さくなる。 現在の自分の環境だと手に向けてまっすぐ取り付けられているので問題はないが、初めて使う人にとってはこのアプリケーションを使う上での大きな壁となる。

    「解決策」 まず、基準となる指の関節座標を用意しておく。 その基準となる座標群と現在の座標群を比較して手の傾き具合を求める。 それによって、dx,dy変える

    opened by takeyamayuki 0
Releases(2.6.0)
这是一个yolox-pytorch的源码,可以用于训练自己的模型。

YOLOX:You Only Look Once目标检测模型在Pytorch当中的实现 目录 性能情况 Performance 实现的内容 Achievement 所需环境 Environment 小技巧的设置 TricksSet 文件下载 Download 训练步骤 How2train 预测步骤

Bubbliiiing 613 Jan 05, 2023
This repository attempts to replicate the SqueezeNet architecture and implement the same on an image classification task.

SqueezeNet-Implementation This repository attempts to replicate the SqueezeNet architecture using TensorFlow discussed in the research paper: "Squeeze

Rohan Mathur 3 Dec 13, 2022
Pytorch implementation for the Temporal and Object Quantification Networks (TOQ-Nets).

TOQ-Nets-PyTorch-Release Pytorch implementation for the Temporal and Object Quantification Networks (TOQ-Nets). Temporal and Object Quantification Net

Zhezheng Luo 9 Jun 30, 2022
We are More than Our JOints: Predicting How 3D Bodies Move

We are More than Our JOints: Predicting How 3D Bodies Move Citation This repo contains the official implementation of our paper MOJO: @inproceedings{Z

72 Oct 20, 2022
Reinforcement Learning for the Blackjack

Reinforcement Learning for Blackjack Author: ZHA Mengyue Math Department of HKUST Problem Statement We study playing Blackjack by reinforcement learni

Dolores 3 Jan 24, 2022
GCC: Graph Contrastive Coding for Graph Neural Network Pre-Training @ KDD 2020

GCC: Graph Contrastive Coding for Graph Neural Network Pre-Training Original implementation for paper GCC: Graph Contrastive Coding for Graph Neural N

THUDM 274 Dec 27, 2022
GLANet - The code for Global and Local Alignment Networks for Unpaired Image-to-Image Translation arxiv

GLANet The code for Global and Local Alignment Networks for Unpaired Image-to-Image Translation arxiv Framework: visualization results: Getting Starte

stanley 29 Dec 14, 2022
Context Axial Reverse Attention Network for Small Medical Objects Segmentation

CaraNet: Context Axial Reverse Attention Network for Small Medical Objects Segmentation This repository contains the implementation of a novel attenti

401 Dec 23, 2022
Lingvo is a framework for building neural networks in Tensorflow, particularly sequence models.

Lingvo is a framework for building neural networks in Tensorflow, particularly sequence models.

2.7k Jan 05, 2023
Generating retro pixel game characters with Generative Adversarial Networks. Dataset "TinyHero" included.

pixel_character_generator Generating retro pixel game characters with Generative Adversarial Networks. Dataset "TinyHero" included. Dataset TinyHero D

Agnieszka Mikołajczyk 88 Nov 17, 2022
Official Implementation for the "An Empirical Investigation of 3D Anomaly Detection and Segmentation" paper.

An Empirical Investigation of 3D Anomaly Detection and Segmentation Project | Paper Official PyTorch Implementation for the "An Empirical Investigatio

Eliahu Horwitz 55 Dec 14, 2022
Auto-updating data to assist in investment to NEPSE

Symbol Ratios Summary Sector LTP Undervalued Bonus % MEGA Strong Commercial Banks 368 5 10 JBBL Strong Development Banks 568 5 10 SIFC Strong Finance

Amit Chaudhary 16 Nov 01, 2022
Transparent Transformer Segmentation

Transparent Transformer Segmentation Introduction This repository contains the data and code for IJCAI 2021 paper Segmenting transparent object in the

谢恩泽 140 Jan 02, 2023
Attack on Confidence Estimation algorithm from the paper "Disrupting Deep Uncertainty Estimation Without Harming Accuracy"

Attack on Confidence Estimation (ACE) This repository is the official implementation of "Disrupting Deep Uncertainty Estimation Without Harming Accura

3 Mar 30, 2022
Reproduce ResNet-v2(Identity Mappings in Deep Residual Networks) with MXNet

Reproduce ResNet-v2 using MXNet Requirements Install MXNet on a machine with CUDA GPU, and it's better also installed with cuDNN v5 Please fix the ran

Wei Wu 531 Dec 04, 2022
Just playing with getting CLIP Guided Diffusion running locally, rather than having to use colab.

CLIP-Guided-Diffusion Just playing with getting CLIP Guided Diffusion running locally, rather than having to use colab. Original colab notebooks by Ka

Nerdy Rodent 336 Dec 09, 2022
Official implementation of Deep Convolutional Dictionary Learning for Image Denoising.

DCDicL for Image Denoising Hongyi Zheng*, Hongwei Yong*, Lei Zhang, "Deep Convolutional Dictionary Learning for Image Denoising," in CVPR 2021. (* Equ

Z80 91 Dec 21, 2022
This is the repository for paper NEEDLE: Towards Non-invertible Backdoor Attack to Deep Learning Models.

This is the repository for paper NEEDLE: Towards Non-invertible Backdoor Attack to Deep Learning Models.

1 Oct 25, 2021