HugsVision is an open-source and easy to use all-in-one huggingface wrapper for computer vision.
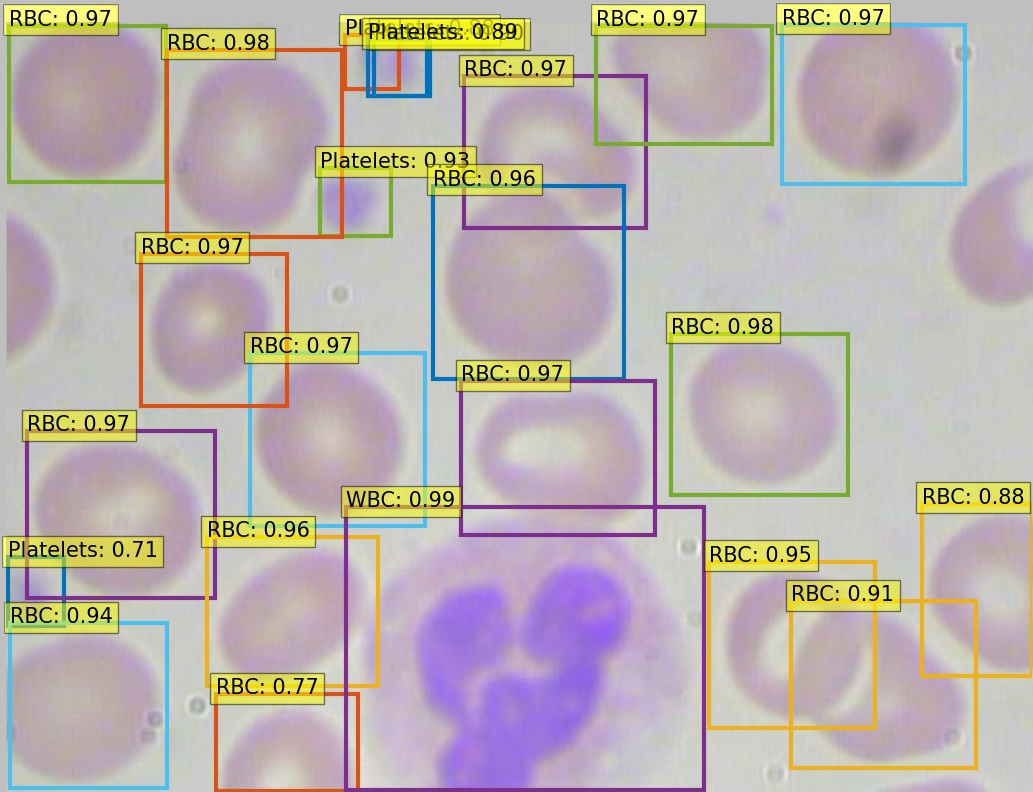
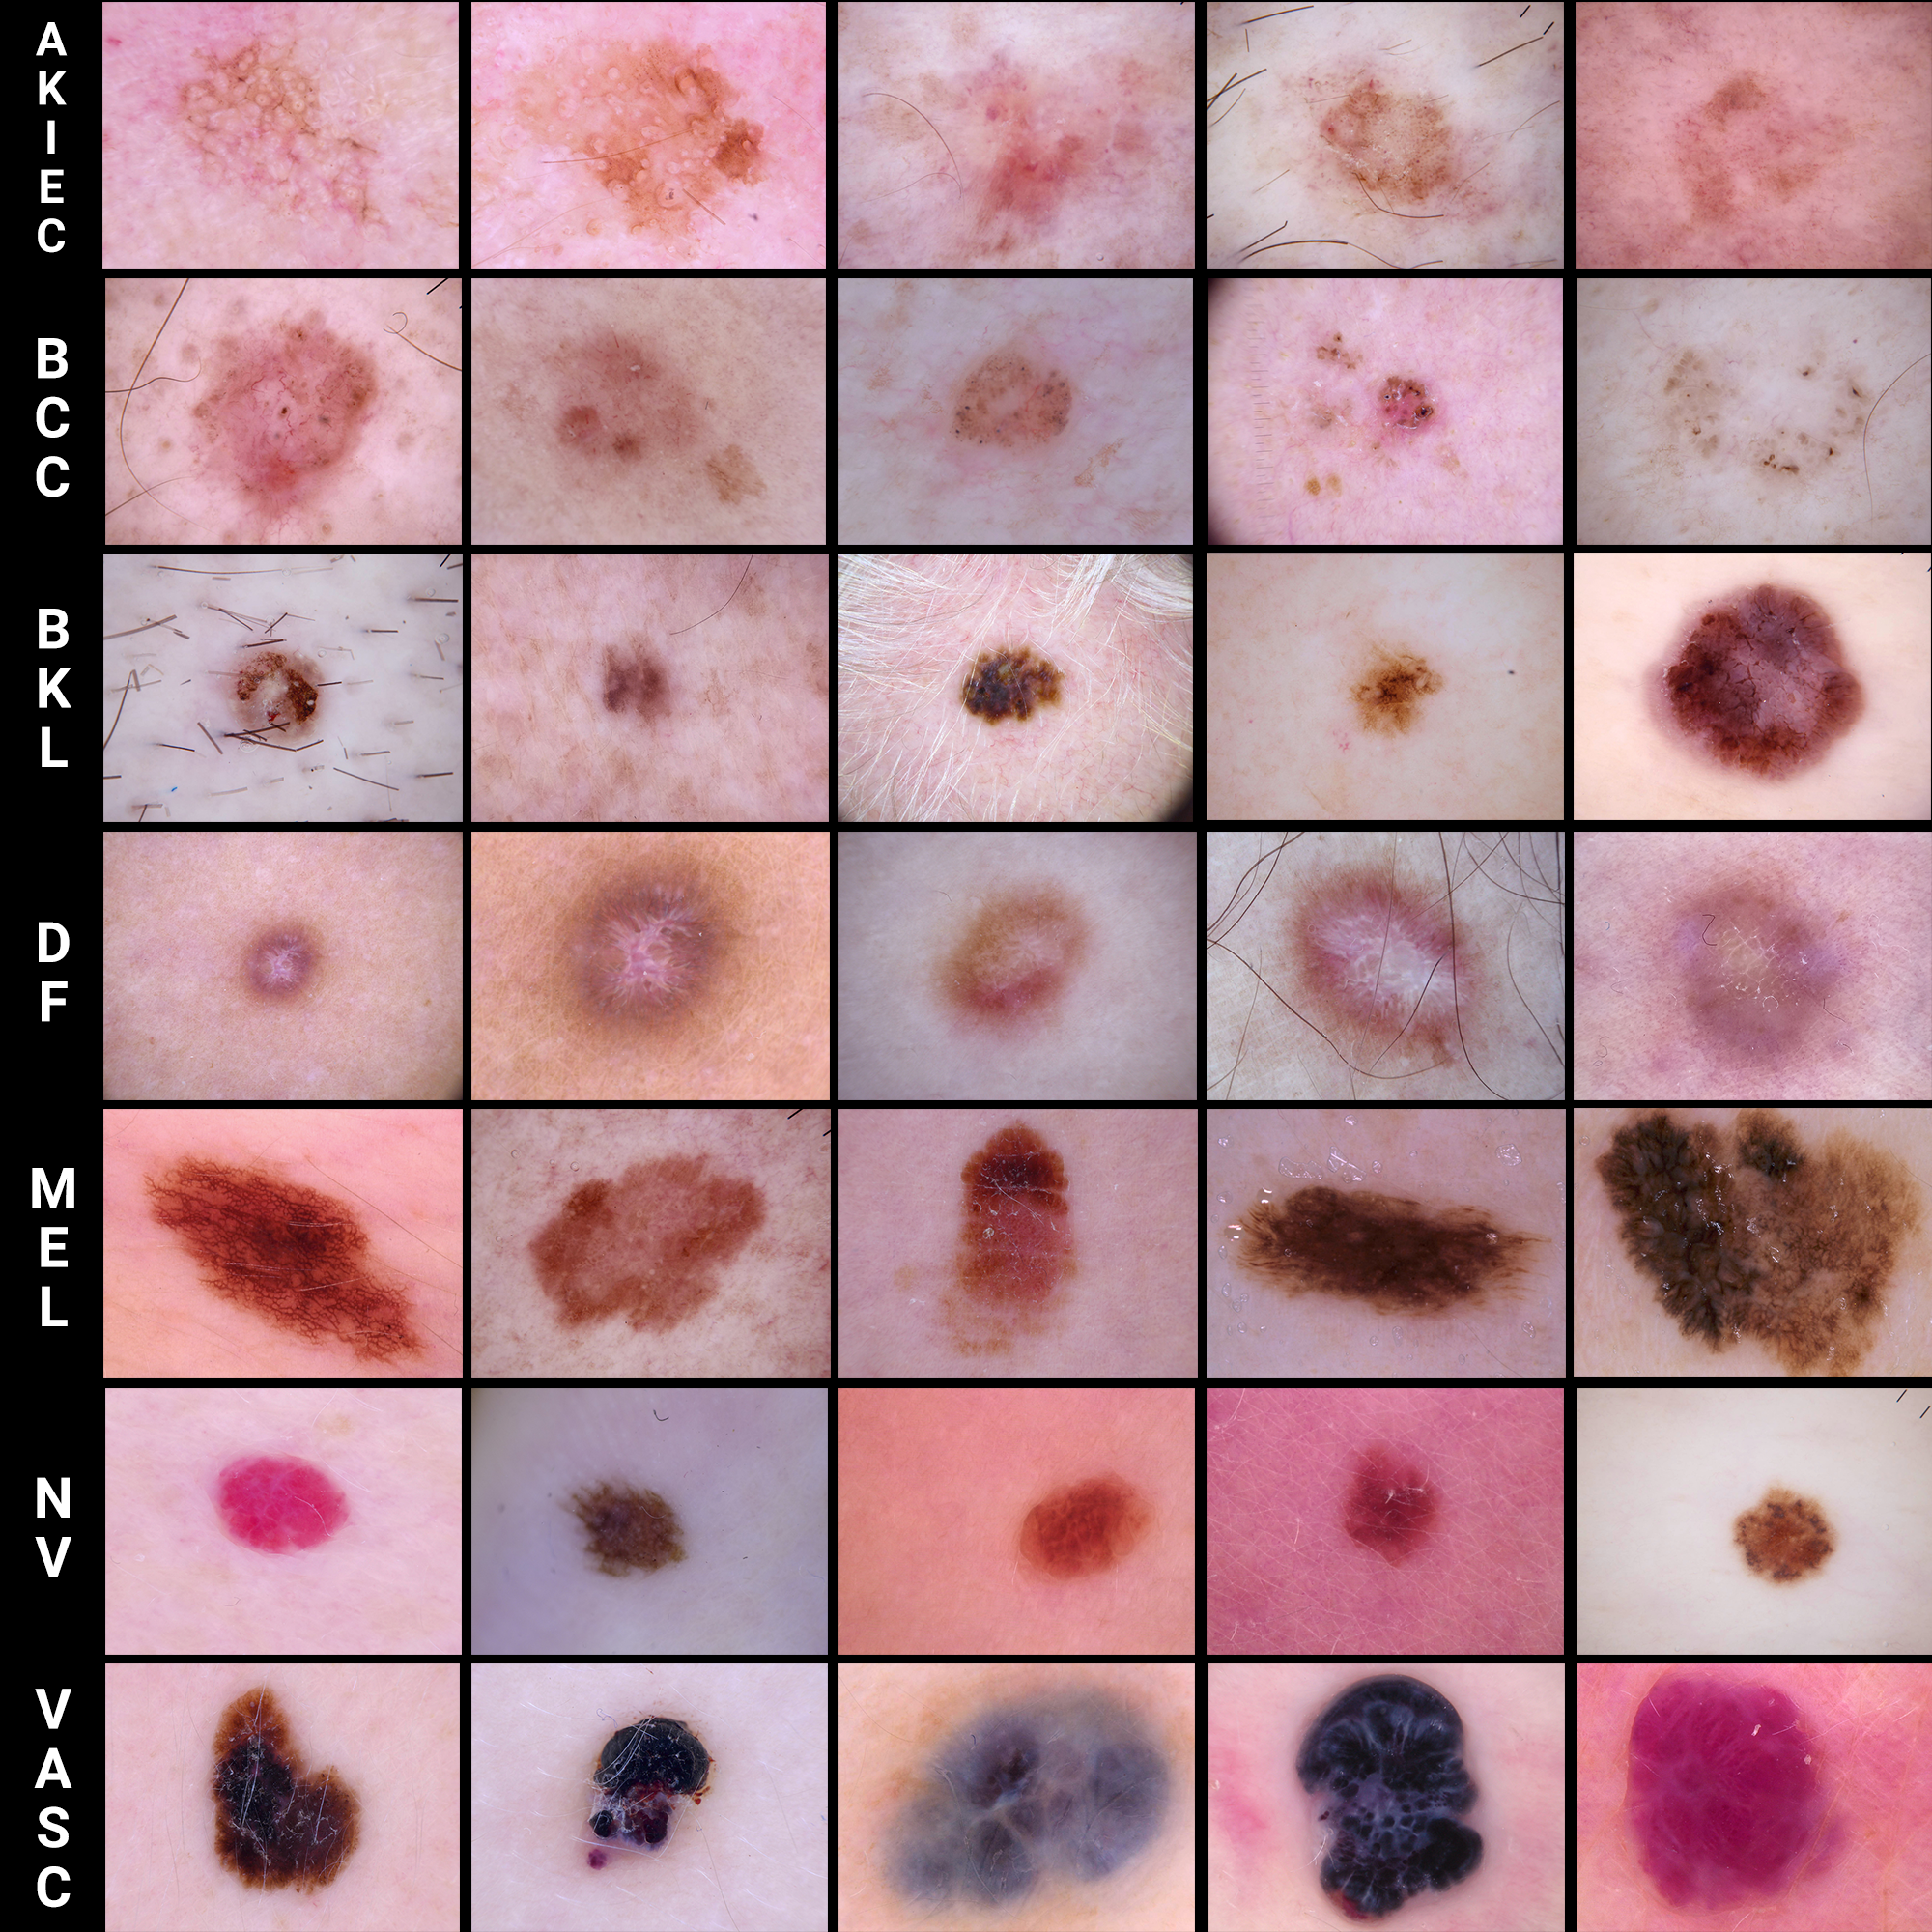
The goal is to create a fast, flexible and user-friendly toolkit that can be used to easily develop state-of-the-art computer vision technologies, including systems for Image Classification, Semantic Segmentation, Object Detection, Image Generation, Denoising and much more.
Quick installation
HugsVision is constantly evolving. New features, tutorials, and documentation will appear over time. HugsVision can be installed via PyPI to rapidly use the standard library. Moreover, a local installation can be used by those users than want to run experiments and modify/customize the toolkit. HugsVision supports both CPU and GPU computations. For most recipes, however, a GPU is necessary during training. Please note that CUDA must be properly installed to use GPUs.
Anaconda setup
conda create --name HugsVision python=3.6 -y
conda activate HugsVision
More information on managing environments with Anaconda can be found in the conda cheat sheet.
Install via PyPI
Once you have created your Python environment (Python 3.6+) you can simply type:
pip install hugsvision
Install with GitHub
Once you have created your Python environment (Python 3.6+) you can simply type:
git clone https://github.com/qanastek/HugsVision.git
cd HugsVision
pip install -r requirements.txt
pip install --editable .
Any modification made to the hugsvision package will be automatically interpreted as we installed it with the --editable flag.
Example Usage
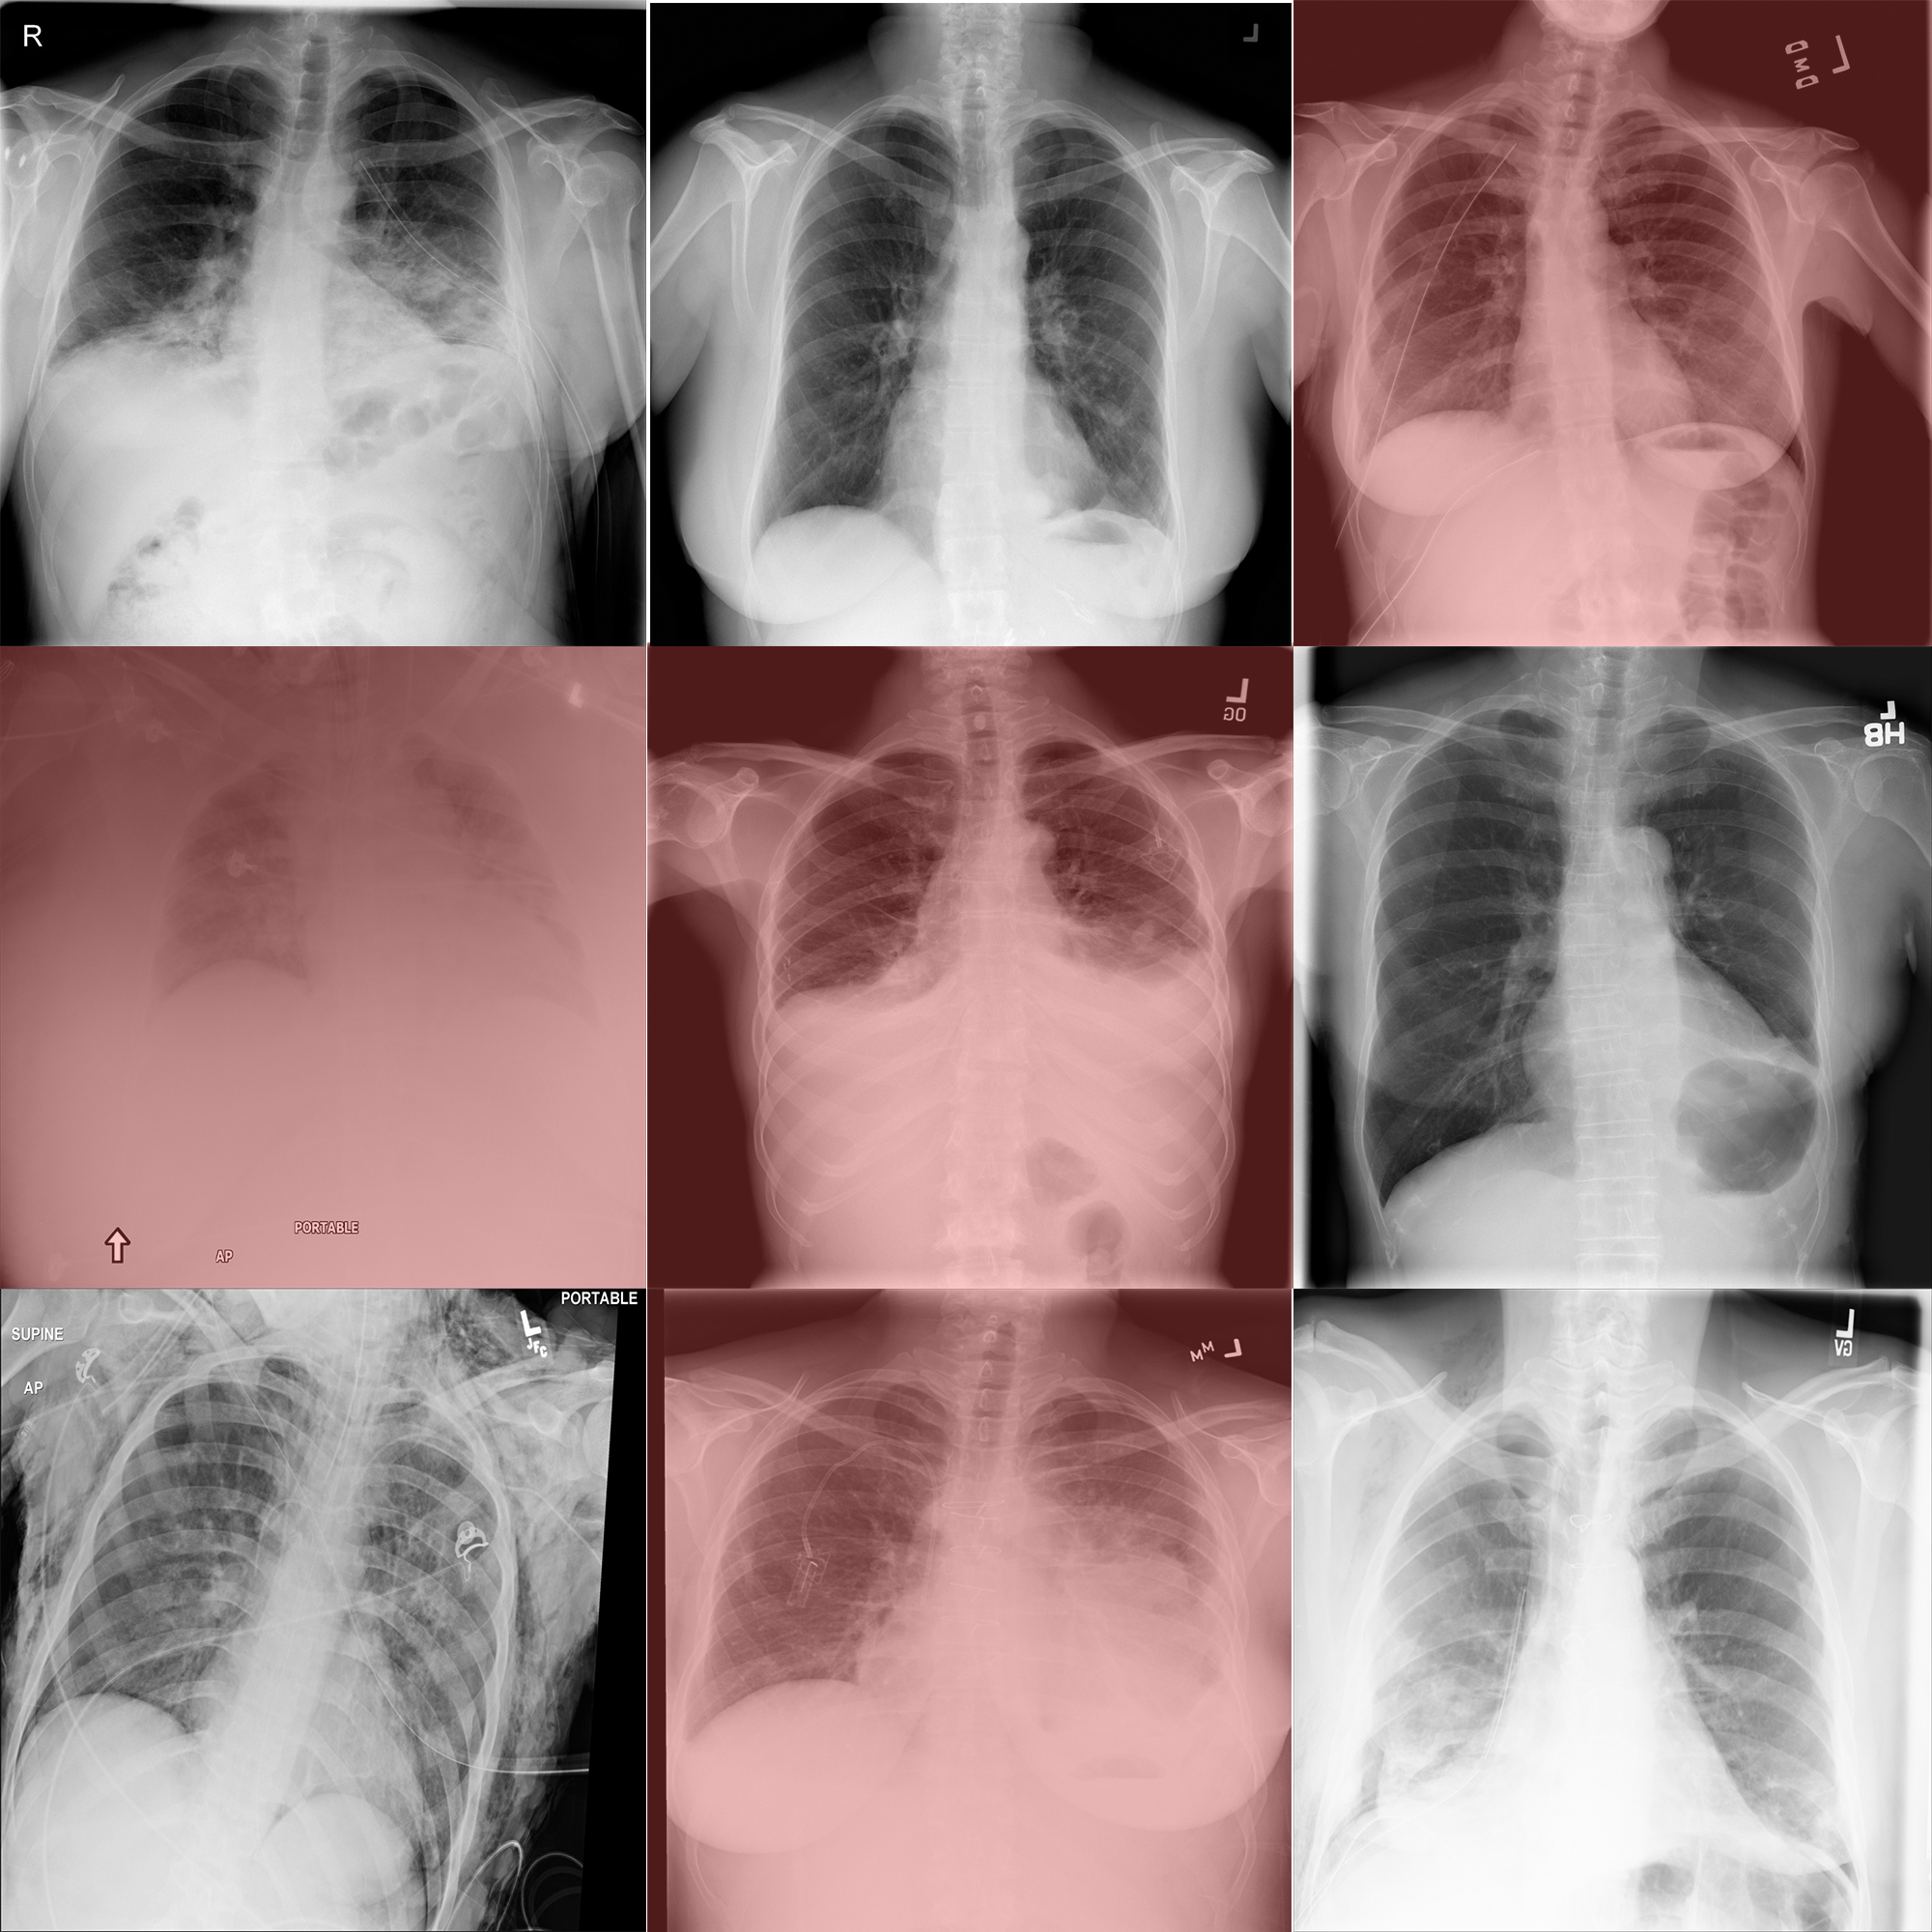
Let's train a binary classifier that can distinguish people with or without Pneumothorax thanks to their radiography.
Steps:
- Move to the recipe directory
cd recipes/pneumothorax/binary_classification/ - Download the dataset here ~779 MB.
- Transform the dataset into a directory based one, thanks to the
process.pyscript. - Train the model:
python train_example_vit.py --imgs="./pneumothorax_binary_classification_task_data/" --name="pneumo_model_vit" --epochs=1 - Rename
<MODEL_PATH>/config.jsonto<MODEL_PATH>/preprocessor_config.jsonin my case, the model is situated at the output path like./out/MYVITMODEL/1_2021-08-10-00-53-58/model/ - Make a prediction:
python predict.py --img="42.png" --path="./out/MYVITMODEL/1_2021-08-10-00-53-58/model/"
Models recipes
You can find all the currently available models or tasks under the recipes/ folder.
HuggingFace Spaces
You can try some of the models or tasks on HuggingFace thanks to theirs amazing spaces :
 |
 |
Model architectures
All the model checkpoints provided by
Before starting implementing, please check if your model has an implementation in PyTorch by refering to this table.
- ViT (from Google Research, Brain Team) released with the paper An Image is Worth 16x16 Words: Transformers for Image Recognition at Scale, by Alexey Dosovitskiy, Lucas Beyer, Alexander Kolesnikov, Dirk Weissenborn, Xiaohua Zhai, Thomas Unterthiner, Mostafa Dehghani, Matthias Minderer, Georg Heigold, Sylvain Gelly, Jakob Uszkoreit, Neil Houlsby.
- DeiT (from Facebook AI and Sorbonne University) released with the paper Training data-efficient image transformers & distillation through attention by Hugo Touvron, Matthieu Cord, Matthijs Douze, Francisco Massa, Alexandre Sablayrolles, Hervé Jégou.
- BEiT (from Microsoft Research) released with the paper BEIT: BERT Pre-Training of Image Transformers by Hangbo Bao, Li Dong and Furu Wei.
- DETR (from Facebook AI) released with the paper End-to-End Object Detection with Transformers by Nicolas Carion, Francisco Massa, Gabriel Synnaeve, Nicolas Usunier, Alexander Kirillov and Sergey Zagoruyko.
Build PyPi package
Build: python setup.py sdist bdist_wheel
Upload: twine upload dist/*
Citation
If you want to cite the tool you can use this:
@misc{HugsVision,
  title={HugsVision},
  author={Yanis Labrak},
  publisher={GitHub},
  journal={GitHub repository},
  howpublished={\url{https://github.com/qanastek/HugsVision}},
  year={2021}
}


