当前位置:网站首页>【RT-Thread】nxp rt10xx SFUD和FAL组件搭建与使用
【RT-Thread】nxp rt10xx SFUD和FAL组件搭建与使用
2022-07-16 03:18:00 【L_17】
开发前准备
- 硬件平台:nxp rt10xx单片机
- IDE: Keil
- spi设备驱动框架已经搭建完毕(本章使用spi2,flash挂载在该位置)
SFUD 简介
SFUD 全称 Serial Flash Universal Driver,是一款开源的串行 SPI Flash 通用驱动库。由于现有市面的串行 Flash 种类居多,各个 Flash 的规格及命令存在差异, SFUD 就是为了解决这些 Flash 的差异现状而设计,让我们的产品能够支持不同品牌及规格的 Flash,提高了涉及到 Flash 功能的软件的可重用性及可扩展性,同时也可以规避 Flash 缺货或停产给产品所带来的风险。
1.SFUD 在 rt-thread 组件中位置
sfud组件在如下路径,README部分有它的详细说明:

2.Env环境menuconfig配置
打开Env进入RT-Thread Components -> Device Drivers目录,选择如下:

3.工程中添加SFUD
文件:spi_flash_sfud.c sfud.c sfud_sfdp.c 及相关头文件
4.应用功能测试
底层IO初始化,注意我们的Flash挂载的位置,本章暂时用的spi非qspi测试
 	IOMUXC_SetPinMux(IOMUXC_GPIO_SD_B1_07_LPSPI2_SCK, 0U);
	// IOMUXC_SetPinMux(IOMUXC_GPIO_SD_B1_06_LPSPI2_PCS0, 0U); IOMUXC_GPIO_SD_B1_06_GPIO3_IO06
	IOMUXC_SetPinMux(IOMUXC_GPIO_SD_B1_08_LPSPI2_SD0, 0U);
	IOMUXC_SetPinMux(IOMUXC_GPIO_SD_B1_09_LPSPI2_SDI, 0U);

	IOMUXC_SetPinConfig(IOMUXC_GPIO_SD_B1_07_LPSPI2_SCK, 0x10B0u);
	// IOMUXC_SetPinConfig(IOMUXC_GPIO_SD_B1_06_LPSPI2_PCS0, 0x10B0u);
	IOMUXC_SetPinConfig(IOMUXC_GPIO_SD_B1_08_LPSPI2_SD0, 0x10B0u);
	IOMUXC_SetPinConfig(IOMUXC_GPIO_SD_B1_09_LPSPI2_SDI, 0x10B0u);
方法一,代码中挂载 W25Q128的块设备,然后执行数据读:
static int hw_spiflash_init(void)
{

	int result = RT_EOK;

	rt_hw_spi_device_attach("spi2", "spi20", GET_PIN(3, 6));

	if(RT_NULL == rt_sfud_flash_probe("W25Q128","spi20"))
	{

		rt_kprintf("probe fail w25q\r\n");
		return -RT_ERROR;
	}

    /*根据spi设备名称,查询挂载的SFUD Flash设备*/
    h_sfud_flash = rt_sfud_flash_find("spi20");
	if(RT_NULL == h_sfud_flash)
	{

		rt_kprintf("not find W25Q128\r\n");
		return -RT_ERROR;
	}

	rt_kprintf("spi flash name is %s \n",h_sfud_flash->name);

	h_sfud_flash = rt_sfud_flash_find_by_dev_name(h_sfud_flash->name);
	if(RT_NULL == h_sfud_flash)
	{

		rt_kprintf("not find flash devie \n");
	}

	sfud_read(h_sfud_flash,0,sizeof(readBuf),readBuf);

	return result;
}
方法二,命令行操作:
实际就只需要spi2总线关联上 spi20 设备就行了,如下代码:
rt_hw_spi_device_attach("spi2", "spi20", GET_PIN(3, 6));

FAL简介
FAL (Flash Abstraction Layer) Flash 抽象层,是对 Flash 及基于 Flash 的分区进行管理、操作的抽象层,对上层统一了 Flash (框架图如下所示)

1.Env环境menuconfig配置
打开Env进入RT-Thread Components,FAL有如下选项(本章将FAL和SFUD直接关联了,所以全部选上):

参考文件夹:rt-thread->components->fal->samples->porting里面有相关内容,我们将fal_cfg.h 和 fal_flash_sfud_port.c文件分别拷贝到上上级目录的inc和src中,等会儿修改相关内容

注:rt10xx不同于stm32,用户代码部分,很多只有外挂片外rom(flash,sd卡,emmc)启动(非bootrom官方固化好的片内rom代码)。
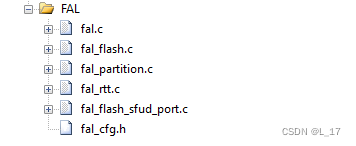
2.工程中添加FAL组件
文件:fal.c fal_flash.c fal_partition.c fal_rtt.c fal_flash_sfud_port.c
3.修改fal_cfg.h和fal_flash_sfud_port.c
fal_cfg.h 主要就是填写分区表的一些信息,内容如下:
分区结构体:
/** * FAL partition */
struct fal_partition
{

    uint32_t magic_word;

    /* partition name */
    char name[FAL_DEV_NAME_MAX];
    /* flash device name for partition */
    char flash_name[FAL_DEV_NAME_MAX];

    /* partition offset address on flash device */
    long offset;
    size_t len;

    uint32_t reserved;
};
typedef struct fal_partition *fal_partition_t;
#ifndef _FAL_CFG_H_
#define _FAL_CFG_H_

#include <rtthread.h>
#include <board.h>

/* enable SFUD flash driver sample */
#define FAL_FLASH_PORT_DRIVER_SFUD

extern struct fal_flash_dev flash_w25q;

/* flash device table */
#define FAL_FLASH_DEV_TABLE \ {
       \ &flash_w25q, \ }
/* ====================== Partition Configuration ========================== */
#ifdef FAL_PART_HAS_TABLE_CFG
/* partition table */
#define FAL_PART_TABLE \ {
       \ {
      FAL_PART_MAGIC_WROD, "bootloader", FAL_USING_NOR_FLASH_DEV_NAME, 0, 256 * 1024, 0}, \ {
      FAL_PART_MAGIC_WROD, "app", FAL_USING_NOR_FLASH_DEV_NAME, 256 * 1024, 768 * 1024, 0}, \ {
      FAL_PART_MAGIC_WROD, "preset", FAL_USING_NOR_FLASH_DEV_NAME, (1024) * 1024, 512 * 1024, 0}, \ {
      FAL_PART_MAGIC_WROD, "img", FAL_USING_NOR_FLASH_DEV_NAME, (1024 + 512) * 1024, 7 * 1024 * 1024, 0}, \ {
      FAL_PART_MAGIC_WROD, "filesystem", FAL_USING_NOR_FLASH_DEV_NAME, (1024 + 512 + 7 * 1024) * 1024, 7 * 1024 * 1024, 0}, \ }
#endif /* FAL_PART_HAS_TABLE_CFG */
#endif /* _FAL_CFG_H_ */
修改文件内容:fal_flash_sfud_port.c,将sfud和fal关联,函数数据等注册到fal_flash_dev结构体中
/**************************************************START OF FILE*****************************************************/

/*------------------------------------------------------------------------------------------------------------------ Includes */
#include <fal.h>

#ifdef FAL_FLASH_PORT_DRIVER_SFUD
#include <sfud.h>
#include <spi_flash_sfud.h>


#ifndef FAL_USING_NOR_FLASH_DEV_NAME
#define FAL_USING_NOR_FLASH_DEV_NAME "W25Q128"
#endif

/*------------------------------------------------------------------------------------------------------------------ Functions */
static int init(void);
static int read(long offset, uint8_t *buf, size_t size);
static int write(long offset, const uint8_t *buf, size_t size);
static int erase(long offset, size_t size);

static sfud_flash_t h_sfud_dev = NULL;
struct fal_flash_dev flash_w25q =
{

	.name     = FAL_USING_NOR_FLASH_DEV_NAME,
	.addr     = 0,
	.len      = (16 * 1024 * 1024),
	.blk_size = 4096,
	.ops      = {
    init, read, write, erase},
	.write_gran = 1
};

static int init(void)
{

	if(RT_NULL == rt_sfud_flash_probe(FAL_USING_NOR_FLASH_DEV_NAME,"spi20"))
	{

		rt_kprintf("probe fail w25q\r\n");
		return -RT_ERROR;
	}

#ifdef RT_USING_SFUD
    /* RT-Thread RTOS platform */
    h_sfud_dev = rt_sfud_flash_find_by_dev_name(FAL_USING_NOR_FLASH_DEV_NAME);
#else
    /* bare metal platform */
    extern sfud_flash sfud_norflash0;
    h_sfud_dev = &sfud_norflash0;
#endif

    if (NULL == h_sfud_dev)
    {

        return -1;
    }

    /* update the flash chip information */
    flash_w25q.blk_size = h_sfud_dev->chip.erase_gran;
    flash_w25q.len = h_sfud_dev->chip.capacity;

    return 0;
}

static int read(long offset, uint8_t *buf, size_t size)
{

    sfud_read(h_sfud_dev, flash_w25q.addr + offset, size, buf);

    return size;
}

static int write(long offset, const uint8_t *buf, size_t size)
{

    if (sfud_write(h_sfud_dev, flash_w25q.addr + offset, size, buf) != SFUD_SUCCESS)
    {

        return -1;
    }

    return size;
}

static int erase(long offset, size_t size)
{

    if (sfud_erase(h_sfud_dev, flash_w25q.addr + offset, size) != SFUD_SUCCESS)
    {

        return -1;
    }

    return size;
}

#endif /* FAL_FLASH_PORT_DRIVER_SFUD */

/****************************************************END OF FILE*****************************************************/
4.应用功能测试
1.底层IO初始化,参考前面

2.SPI BUS总线连接 SPI设备
rt_hw_spi_device_attach("spi2", "spi20", GET_PIN(3, 6));

3.调用fal初始化函数
fal_init();

4.操作 struct fal_flash_dev flash_w25q 结构体,实现读写操作等等
flash_w25q.ops.read(0,readBuf,sizeof(readBuf));
或者省略步骤4,执行命令行操作:

边栏推荐
- Where is the motivation to be a test / development programmer? How to persist
- Object conversion problems
- [QT introduction] Introduction to three window classes
- IIC read / write EEPROM
- Motion capture assists China Electric Power Research Institute in establishing a side cloud collaborative power independent inspection system
- Share the operation steps of postman connecting to MySQL database from the beginning of installation
- Cache penetration, cache avalanche, cache breakdown?
- Dongfang selects the traffic password behind the explosion
- [performance test] performance test question and answer
- Error reporting solution - desktop and U disk data transmission error
猜你喜欢

IIC读写EEPROM
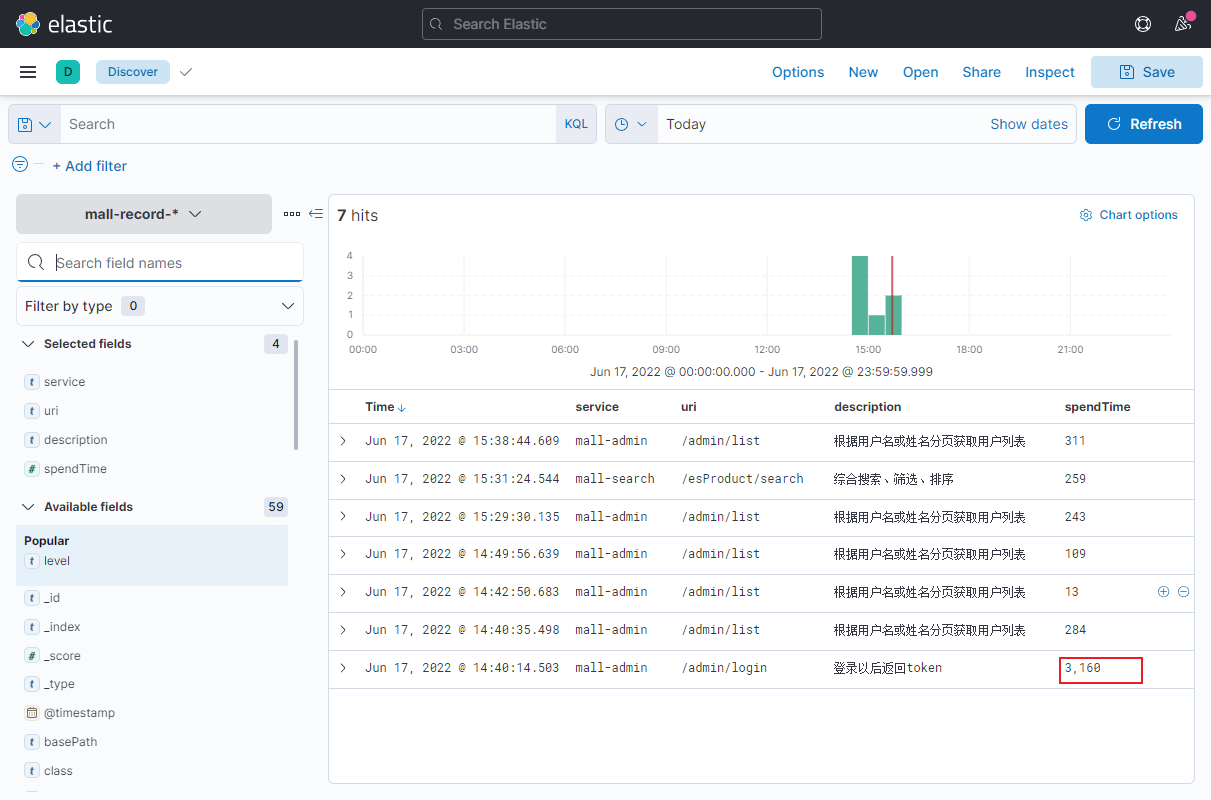
Still reading logs on the command line? Use kibana, visual log analysis yyds~

HCIP第三天学习笔记

缩减50%调试成本 小匠物联推可远程的串口调试助手

PPP综合实验

Word——设置Tab键宽度

示波器的带宽介绍

Comment systématiser gratuitement l'introduction à la science des données?

论文阅读:U-Net: Convolutional Networks for Biomedical Image Segmentation

Iptables port forwarding
随机推荐
基于GD32 C10x MCU栈回溯调试原理实现
This article enables you to understand IIC, SPI and UART protocols
ReversingKr-wp(7)
Hcip day 6 notes
金仓数据库 KingbaseES SQL 语言参考手册 (3.1.1.9. 网络地址类型)
IO Language Guide
Network protocol -- concept and function analysis of seven layer, five layer and four layer protocols
为什么 UDP 头只有 8 个字节
Share the operation steps of postman connecting to MySQL database from the beginning of installation
SSH本地端口转发
Rust from and into
Write essays on MySQL questions (keyword records)
Source insight 4 what about Chinese garbled code?
hcip静态综合复习实验
ReversingKr-wp(7)
An email many years ago
Use of resttemplate
Hcip dynamic routing experiment (RIP)
一文让你看懂IIC、SPI、UART协议
花生壳内网穿透实践指南